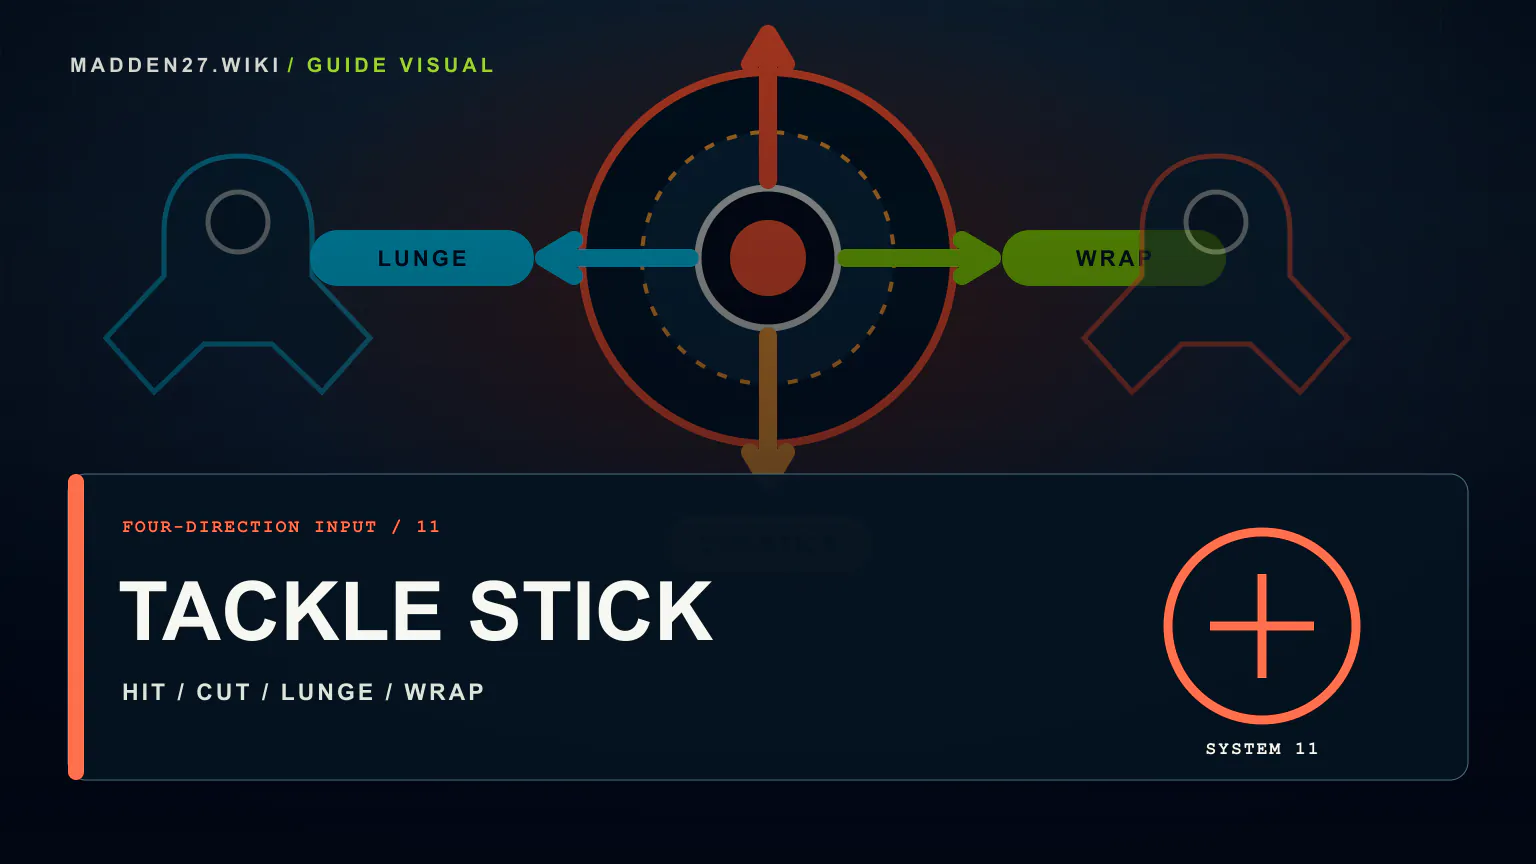
Tackle Stick controller and keyboard map
EA's current tackling guide maps the four Tackle Stick directions to both controllers and keyboard. Up is Hit Stick, down is Cut Stick, left is Lunge, and right is Wrap; the keyboard equivalents are W, S, Q, and E.
Confirm the active control preset in Settings > Controls if you use remapping or a different device. A displayed input documents how to attempt the tackle, not how the collision will resolve.
- Tackle Stick up / W — Hit Stick
- Tackle Stick down / S — Cut Stick
- Tackle Stick left / Q — Lunge Tackle
- Tackle Stick right / E — Wrap Tackle
Conservative, Dive, and Strip Ball buttons
Some tackle attempts use face or shoulder buttons rather than Tackle Stick. Run the defender close enough to the ballcarrier, then use the mapped input for the tackle you want.
EA Help lists keyboard E and Q in both the Tackle Stick and button-tackle tables but does not explain how that overlap is disambiguated. Check the live on-screen prompt and active control preset instead of inferring a context rule from the duplicated table entries.
- Conservative — Xbox A, PlayStation X, Switch 2 B; keyboard E
- Dive — Xbox X, PlayStation Square, Switch 2 Y; keyboard Q
- Strip Ball — Xbox RB, PlayStation R1, Switch 2 R; keyboard Space
Choose by distance and risk
EA frames Hit Stick as aggressive, Cut Stick as useful against bigger runners, Lunge as a riskier reach option, and Wrap as a less risky close-range choice. Conservative is the safer button tackle intended to reduce the chance of being faked out; Dive is a last-effort reach attempt; Strip Ball trades secure contact for a fumble attempt.
Those descriptions are use cases, not success guarantees. Hit or Strip does not guarantee a fumble, Dive can miss, and even a conservative or wrap attempt still depends on spacing, angle, ratings, speed, and the current build.
A repeatable practice test
Use Practice or another repeatable setting with the same defender, ballcarrier, pursuit angle, starting distance, and difficulty. Test one direction at a time and record contact, missed tackles, yards after contact, and fumbles without changing personnel between samples.
Repeat from inside, outside, head-on, and trailing angles, then re-run the test after a title update. The purpose is to learn when each input is available and reliable for your context, not to manufacture a universal percentage.